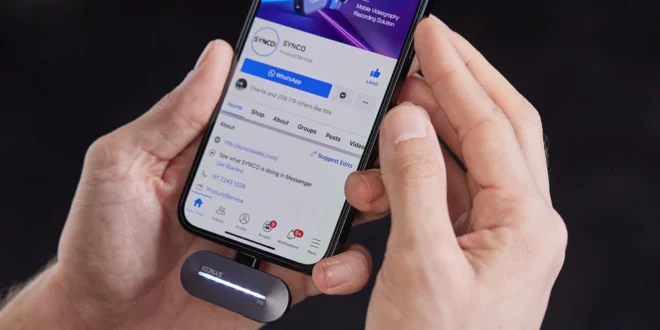
If you have an iPhone, the built-in microphone is suitable for creating personal videos and audio recordings. However, if you’re thinking about starting a vlog or podcast, or if you simply want to ensure that the AV recordings are high-quality, you might want to consider using an iPhone external microphone.
But you should know, that connecting an external device to your smartphone is so much more than simply choosing a device and plugging it in. There are more things that you must do and to ensure that you use the mic in the right way, here are the top seven things that you should know:
Table of Contents
1. You Might Need Extra Accessories
The very first thing that you should know is that you might need some extra accessories if you want to connect the iPhone external microphone to your device. This will entirely rely on the model you own, hence, if you own a phone that features a 3.5mm audio jack, you can utilize it for attaching the mic. Nevertheless, if you own a newer phone model that doesn’t feature the jack, you’ll need to opt for an adapter.
2. You Cannot Record Without a TRRS Model
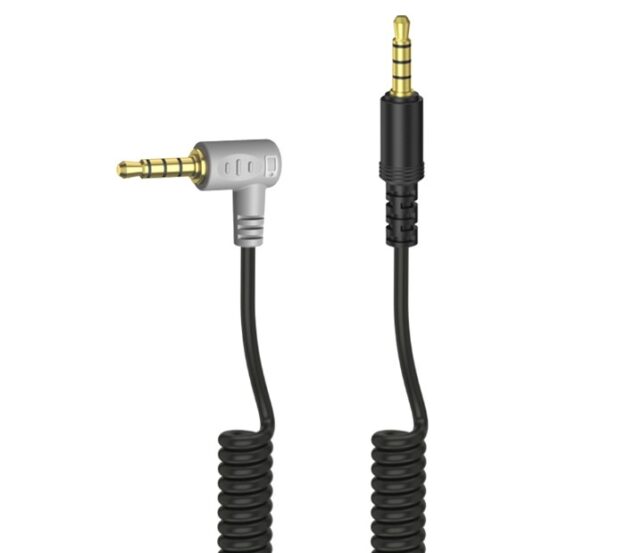
Now, even if your phone has a 3.5mm audio jack, it won’t record anything with the iPhone mic you connected. This is because the brand won’t detect an external device with a TRS jack, meaning that it’ll still utilize the internal mic for recording different audio. It won’t function because the TRS plug has electrical connectors that don’t fit the audio that travels in two different directions.
Because of this, you must be extra careful when selecting the plug. Fortunately for all individuals, most of the options available on the market will feature a TRRS standard, which means that you could find specific products like an external microphone for iPhone 12. Also, an easy way to determine whether or not you’ll be capable of using it for your phone is to search for the “iPhone compatibility” sticker on the packaging.
3. A Lavalier Mic Can Be Used at Greater Distance
According to the experts from syncoaudio, if you need to record something, but don’t want to stand near your device, you could opt for connecting a Lavalier microphone for iPhone, mostly because it’ll enable you to record from a distance between 152 cm and 1524 cm (5 feet to 50 feet). Keep in mind, that these devices can be attached to your phone with a transmitter, and the transmitter will be communicated with the receiver that is joined to your device.
4. You Could Record Several Audio Sources
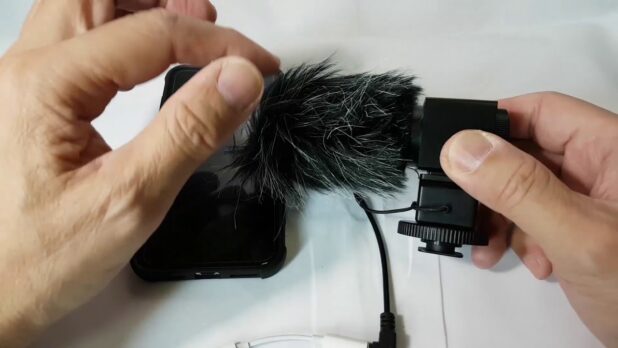
Although a lot of individuals don’t realize it, it’s entirely possible to record several sources at once. For doing this, you’ll need to utilize an audio mixer. For example, you could record several sources at once, and then mix them into one audio recording. To do this, you’ll need to use several mics or a wireless microphone for iPhone, you should plug it into the ports on the mixer, and also, you’ll need to set each of them up so that they suit your recording needs.
Furthermore, you could add remote individuals to the recording! How? Well, it’s simple – you could use messaging and calling applications such as Skype. Of course, to do this, you’ll be required to plug another phone into the mixer. Keep in mind, that you’ll need to wear headphones during this process so that you could ensure that the person on the other side can be heard, and while doing so, you could also adjust everyones’ levels properly.
5. Never Purchase Low-Quality External Microphones
If there is one thing that you must take away from this list, it’s the fact that you should never purchase a low-quality, inexpensive external mic. Instead, the iPhone external microphone that you opt for should be high-quality and it should also come from a reputable and experienced organization. Doing this won’t only ensure that all the components work, but it’ll also ensure that your recording doesn’t have any issues such as noise.
Additionally, by investing in a high-quality gadget, you could actually save money in the long run. How? Well, purchasing a low-quality option means that it could break down and stop working relatively soon, thus, you’ll have to purchase another mic, resulting in a higher cost. Hence, even though it can be tempting to buy that $10 external mic that you noticed, it might not be a good idea, especially if you wish to save some money.
6. Choose a Device According to Your Needs
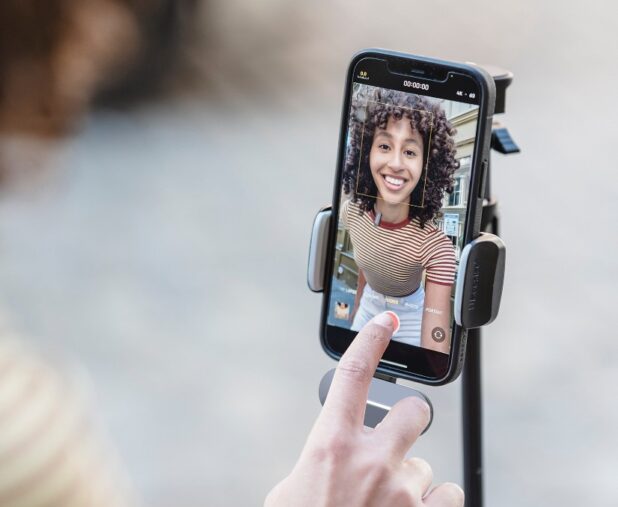
No matter why you have to connect a microphone to an iPhone, you should guarantee that it suits the recording needs that you have. There is a wide range of options on the market, thus, when browsing, ensure that you read everything there is about particular options, and more importantly, you must guarantee that you compare every feature the devices have so that you could choose something that’ll suit the needs you have.
7. You’ll Need to Choose a Suitable Application
If you wish to document audio with an external mic or if you wish to utilize an iPhone external microphone for video recordings, you must ensure that you utilize an app that’ll suit the hardware that you have. By doing so, you could guarantee that they’re synced. The mic you opt for will ensure that you cover the hardware part, however, when it comes to the application that you’ll utilize, you should pay extra attention to it.
Because of this, you’ll need to compare different apps, technology, and tools available on the market and see whether or not they’ll suit the hardware that you have. Of course, you’ll most likely opt for something that is suitable for your recording needs, nonetheless, you must also opt for an application that can be used for the iPhone external microphone and adapter. Thus, when choosing an application, be extra careful.
Conclusion
Whether you require an external mic for recording podcasts or a vlog, it’s crucial that you opt for the right device. By doing so, you’ll ensure that it can be attached to your iPhone, but more importantly, you can ensure that you produce high-quality recordings without any issues such as noise.
By now, you probably understand that you’ll need to consider a lot of things before you could connect an external mic to your smartphone and start recording. And, since you now know what you must be careful about, don’t lose time, instead, while keeping all our tips in mind, start looking for a mic that’ll suit your needs.
 World Magazine 2024
